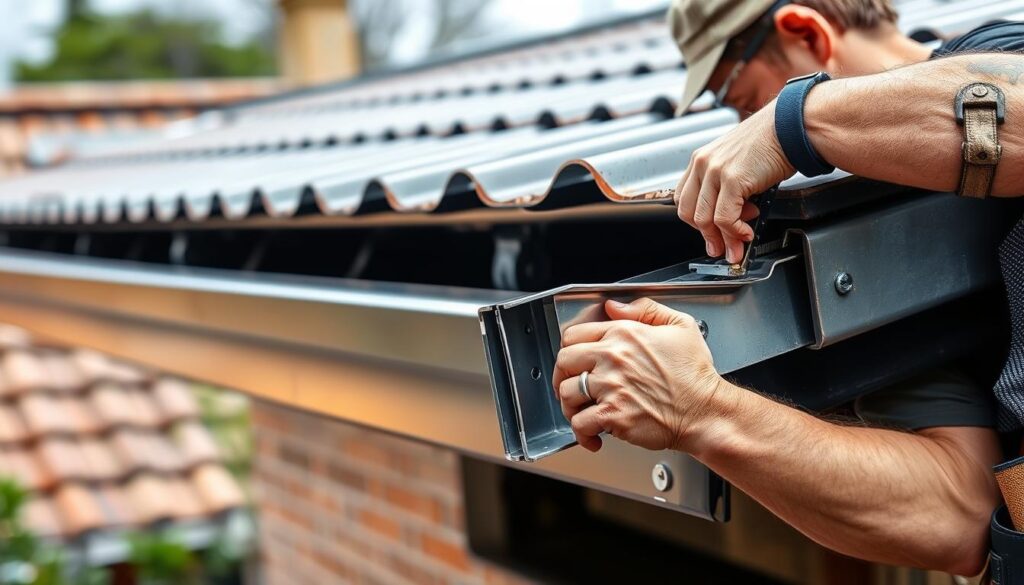
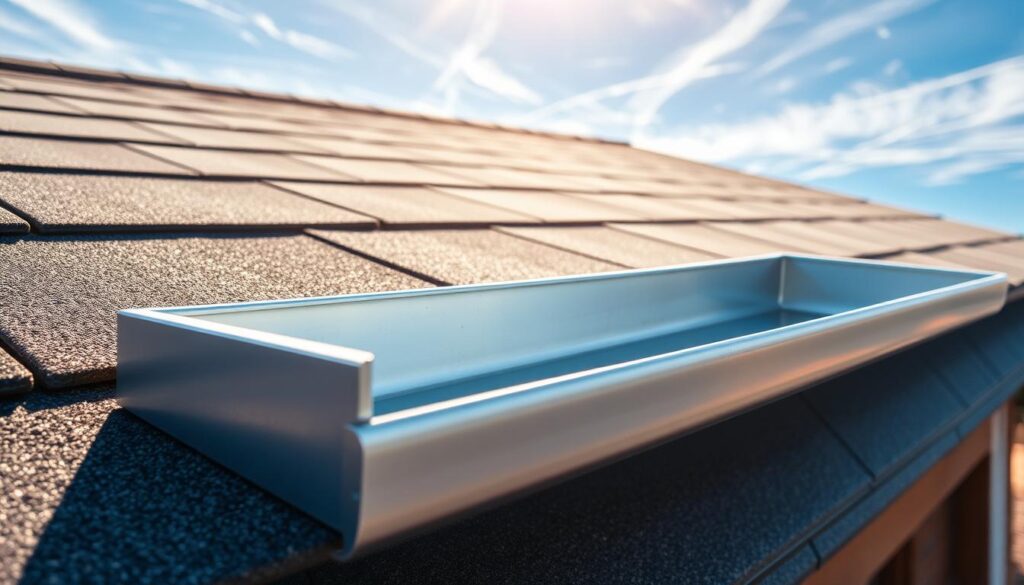
We solved a leaking box gutter problem for a Melbourne building by redesigning the internal channel and applying a seamless roofing membrane. Our aim was simple: stop the leak fast, limit disruption to the home and deliver a durable, engineered solution.
We diagnosed undersized channels and seam failure in the original metal lining, then recommended thermoplastic membranes with heat-welded joins to avoid future rust and seam issues. The project used industry primers and a continuous spray membrane to seal the roof and three internal channels.
OnCall Emergency Plumbers mobilised promptly, worked to clear blockages, set correct overflow levels and sized the channel to the roof catchment. For urgent help or to discuss a similar project, call us on 1800 571 216 or visit our emergency plumber Box Hill North page.
Key Takeaways
- We redesigned an internal box gutter to stop leaks and reduce maintenance.
- Seamless thermoplastic membranes fix common metal seam failures.
- Correct sizing and overflow detailing are essential for safety.
- We offer 24/7 response across Melbourne for urgent roofing and leak work.
- Quality materials and workmanship give long-term value for your building.
Project background: a leaking internal box gutter within a Melbourne building
We found repeated leaks caused by a narrow internal channel that could not cope with heavy roof runoff. The problem showed as stains and damp patches on ceilings and internal walls.
Our licensed team inspected the hidden channel within the building footprint. We noted ponding near outlets and debris — leaves and small branches — restricting flow.
Access was limited by tight corners and abrupt direction changes. That increased maintenance difficulty and raised the risk to finishes inside the house if overtopping occurred.
We stabilised active leaks immediately and measured the catchment area. The existing size did not meet guidance and the front edge needed to sit at least 10 mm lower than the rear to ensure overflow discharges outside the building.
For urgent repairs across Melbourne, our crew works 24/7. Call 1800 571 216 or visit our services page.
| Issue | Impact | Immediate action |
|---|---|---|
| Undersized channel | Water ponding on roof surface | Measure catchment; plan resize |
| Debris (leaves, branches) | Outlet blockage, overflow risk | Clear debris; secure leaf guards |
| Perished lining | Seam failure and tracking | Remove old lining; prime and seal |
Box gutter case study: diagnostics and redesign rationale
Our inspection revealed fatigued mechanical laps and micro-cracks where thermal movement had stressed the original lining. This explained persistent leaks and staining inside the building.
We confirmed the channel area was undersized for the roof surface. Even a small leaf mat or a few branches could cause overflow during heavy rain.
What we found
- Seam failure at lap joints due to metal movement and corrosion.
- Silt, leaves and small branches blocking outlets and restricting water flow.
- An insufficient channel size that could not meet design rainwater loads.
Design principles
We used a simple rule: calculate the correct size for the actual roof catchment and set the front edge at least 10 mm lower than the rear. That ensures any overflow discharges outside the wall and protects interior finishes.
We set adequate falls, outlet count and weir locations to control water during peak events and to give access for maintenance.
Material selection
To avoid future seam problems we favoured heat-welded thermoplastic membranes (PVC/TPO) that form near-monolithic liners and won’t rust. We kept stainless steel at high-wear terminations and paired it carefully with the membrane to prevent stress at transitions.
We chose reputable-brand materials and an optional gutter guard to limit debris entry, balancing cost with long-term reliability. For advice or to book an assessment call 1800 571 216.
| Issue | Design response | Material |
|---|---|---|
| Seam fatigue | Replace with heat-welded liner | PVC / TPO membrane |
| Undersized area | Resize to catchment calculations | Engineered channel details |
| Debris ingress | Optional guard + scheduled cleaning | Stainless steel terminations |
Implementation: our installation method for a durable, leak-free system
Our team isolated the work area, removed failed lining, and prepared the substrate for a continuous membrane system.
Preparation and lining
We began by removing perished rubber and failing sealants to expose a clean board or sheet base. Then we repaired outlets, penetrations and any substrate defects.
Next we cleaned and primed with a compatible primer (for example NSP150) to ensure strong adhesion. We applied a continuous spray membrane such as Tuff Stuff across the channel and adjoining roofing to create a total seal.

Quality controls
We heat-welded laps for a monolithic product that avoids seam failure common with metal liners. Select terminations received compatible stainless steel trims to protect high-wear spots while preserving membrane movement.
We confirmed hydraulic falls, outlet sizes and counts against the roof catchment and set the front edge lower than the rear to secure the overflow path to the outside.
| Step | Purpose | Key product/material |
|---|---|---|
| Remove old lining | Expose bond-ready substrate | NSP150 primer |
| Apply membrane | Create seamless seal | Tuff Stuff / PVC-TPO |
| Reinforce terminations | Protect transitions | Stainless steel trim |
| Test & handover | Verify performance | Pressure test & maintenance plan |
Our Melbourne team at OnCall Emergency Plumbers delivers 24/7 installation with experienced professionals and reputable-brand materials. For urgent works or scheduled upgrades call 1800 571 216.
Results, costs, and maintenance insights from the completed job
Post-installation testing showed the redesigned channels handled peak storm flows without any ponding or seepage. We confirmed a total seal across the roof and three internal box gutters after the membrane was heat-welded and terminations were reinforced.

Outcomes
We achieved complete leak elimination and smoother water conveyance. The outlets and resized channel moved storm water efficiently across the gutters and protected the adjacent wall and internal finishes.
Cost-effectiveness
Compared with a full metal replacement, the redesign proved more affordable. Fewer seams, less fabrication and faster installation reduced job cost while delivering commercial-grade performance.
Investing in reputable-brand materials reduced the likelihood of reactive callouts and extended the service life of the system.
Ongoing care
Periodic clearing and checks are essential. Fine debris can still gather even with a gutter guard fitted, so we recommend scheduled inspections ahead of storm seasons.
We documented the work, listing primers (NSP150), membrane type (Tuff Stuff / PVC-TPO) and outlet repairs to simplify future servicing.
| Result | Benefit | Recommended action |
|---|---|---|
| Leak elimination | Dry interiors, no ceiling stains | Annual inspection; pressure test if suspect |
| Improved flow | No ponding; efficient storm conveyance | Clear debris; check inlet grades |
| Lower lifetime cost | Fewer repairs and longer service life | Use quality materials; keep maintenance log |
If you are a homeowner or building manager and want routine checks or urgent help, call 1800 571 216. We offer 24/7 follow-up and maintenance across Melbourne to keep the system performing as designed.
Conclusion
Our retrofit delivered a continuous seal and hydraulic improvements that stopped internal leaks and restored confidence in the roof.
We sized channels to the roof catchment, set the front edge at least 10 mm lower than the rear and primed the board with recommended products before installing a seamless membrane (PVC/TPO or spray-applied). These steps removed seam failure risks and protected the adjacent wall and interior finishes.
Our approach gives homeowners and building managers a reliable system that is easier to maintain. We document the installation, list primers such as NSP150, and recommend regular checks so gutters stay free-flowing.
For an inspection or to book an installation, call 1800 571 216 or visit our Box Hill South emergency plumber page for prompt, 24/7 support.
FAQ
What causes recurrent leaks in internal box gutters?
Leaks usually stem from failed seams, degraded rubber liners, inadequate capacity for the roof catchment area and debris build-up such as leaves and branches. Poor falls or blocked outlets often cause standing water that accelerates material failure. We recommend a full diagnostic to identify seams, overflow paths and drainage sizing before repairs.
How do you decide the correct gutter size for a roof surface?
We calculate capacity based on roof area, typical local rainfall intensity and outlet positioning. The right size prevents overflow during heavy storms and reduces pressure on seams. When undersized systems are found, we design a larger channel or add controlled overflow to protect the adjacent wall and internal areas.
Which materials provide the most durable leak-free solution?
Durable options include stainless steel with welded seams or modern thermoplastic membranes that create a single, seamless lining. We often combine robust metals with a seamless membrane in high-risk areas, and recommend stainless where aesthetics and longevity matter. Optional stainless steel or polymer gutter guards further limit debris entry.
What does your installation process involve to ensure longevity?
We remove failed rubber liners and loose material, prime the substrate, then apply a continuous membrane or fit stainless components with proper soldering or welding. Attention to falls, outlet detailing and expansion joints is essential. Each stage includes checks to confirm full adhesion and watertight integrity.
How do you control overflow and protect the wall during extreme rain?
We incorporate controlled overflow paths and increase outlet capacity where necessary. Scuppers, overflow outlets or slightly raised overflow channels direct excess water away from critical walls. Proper flashing and detailing at the wall junction prevent water ingress behind cladding.
What quality controls do you perform after installation?
We test falls and outlet performance, inspect seam and perimeter adhesion, and run water tests to confirm no leaks. Expansion detailing and seal integrity receive a final review. We document results and provide maintenance guidance tailored to the building’s environment.
Is redesign more cost-effective than full replacement?
Often a targeted redesign that upgrades liners, outlets and detailing costs less than complete replacement while delivering comparable durability. However, where structural damage or extensive corrosion exists, replacement may be the better long-term investment. We provide comparative quotes so clients can make an informed decision.
How should homeowners maintain the system to prevent future problems?
Regular debris removal, especially leaves and branches, is vital. Installing a reputable gutter guard reduces cleaning frequency. We advise scheduled inspections twice a year and after major storms to clear outlets, check seals and confirm falls remain effective.
Can gutter guards solve leaf and debris issues completely?
Guards significantly reduce blockages but do not eliminate all maintenance. They work best when matched to the system’s profile and local foliage. We recommend high-quality stainless or polymer guards and periodic checks to remove fine debris that can accumulate over time.
Do you offer warranties and documentation for material and workmanship?
Yes. We supply manufacturer warranties for materials such as stainless steel and membranes, plus our workmanship warranty. We provide a handover report that details materials used, water-test results and recommended maintenance intervals for the roof and drainage system.
